How to Install AIM RPM Cable for Optimal Performance
In the world of kart racing, data is power—and every millisecond counts. Whether you’re a weekend warrior or a serious contender on the track, having accurate engine data can be the difference between average and outstanding performance. That’s where the AIM RPM Cable comes into play.
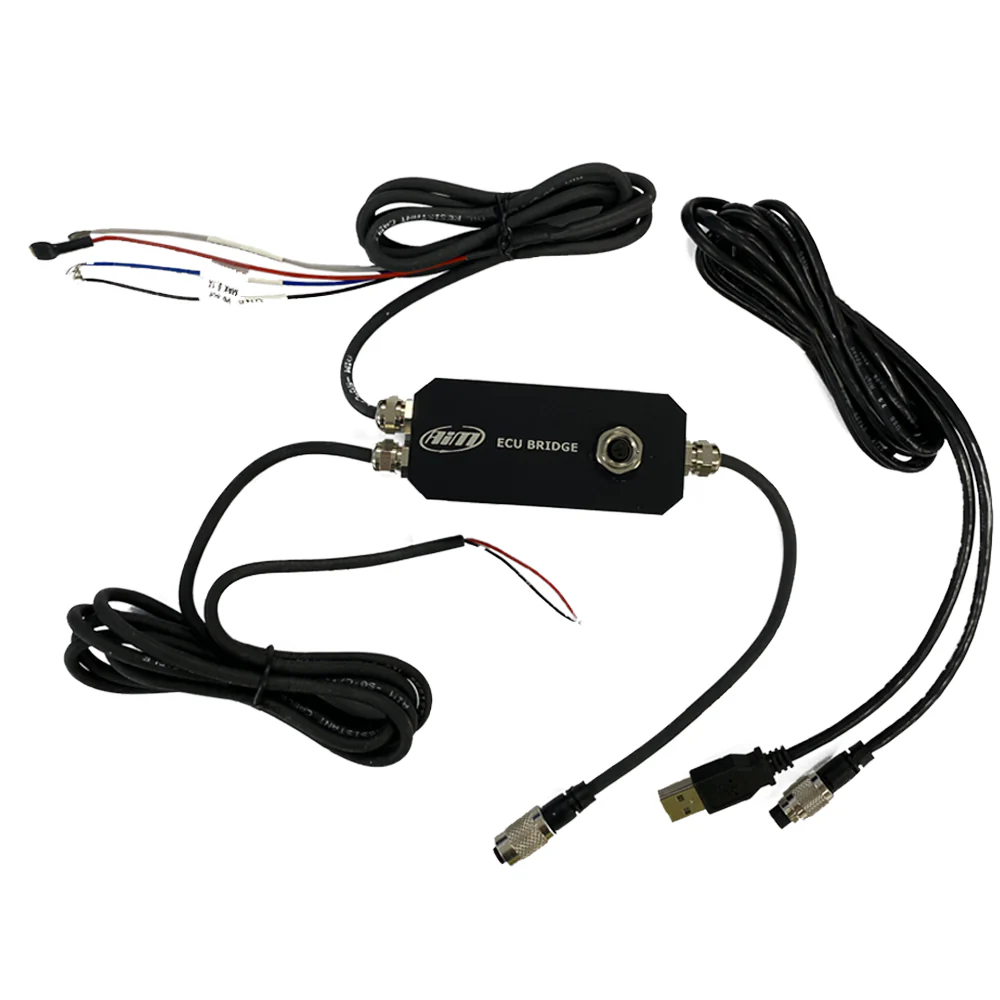
This smart, straightforward tool connects your kart’s engine to your AIM data logger, enabling you to monitor RPM (revolutions per minute) in real time. It helps racers optimize gear ratios, engine tuning, and driving technique with pinpoint accuracy. However, installing the cable correctly is key to unlocking its full potential. A poor installation can lead to data drops, inaccurate readings, or even total signal loss—issues that no racer can afford.
In this guide, we’ll walk you through how to install the AIM RPM Cable correctly, ensuring you’re getting the most out of your data logging setup. We’ll also explore tips for maximizing its performance, helping you gain an edge on the track. Ready to wire in some winning data?
Why Proper Installation Matters
Installing an AIM RPM Cable isn’t just a plug-and-play situation—it’s about precision. A well-installed cable ensures consistent, accurate RPM data, which translates directly into smarter decisions on the track.
Incorrect installations can result in noisy signals, unstable readings, or worst-case scenarios where the data logger doesn’t pick up anything at all. This doesn’t just affect performance analysis—it can mislead your tuning adjustments, costing you time and even damaging your engine in the long run.
Proper installation eliminates all of these risks. It provides clean signal transmission, preserves the integrity of your engine electronics, and keeps your lap-by-lap performance data sharp. If you’re investing in quality equipment like an AIM system, it’s worth spending a few extra minutes to get the installation done right.
What You’ll Need Before Installation
Before you begin, gather everything required to make the process smooth:
- Your AIM RPM Cable (available on KartStore USA)
- An AIM dash or data logger (such as MyChron5 or EVO4S)
- Zip ties or cable sleeves for clean routing
- Heat-resistant electrical tape (optional, but helpful)
- A kart with exposed ignition coil or spark plug wire (depending on your setup)
It’s also helpful to have a basic understanding of your engine type—two-stroke or four-stroke—as the connection point might differ slightly.
Step-by-Step Installation Guide
Step 1: Locate the RPM Signal Source
The most common method of capturing RPM is by wrapping the AIM RPM Cable around the spark plug wire. Alternatively, some systems allow a direct connection to the ignition coil.
- For inductive pickup: Identify the spark plug lead. This is where the cable will wrap around to sense the pulses.
- For coil-based systems: Find the coil output terminal. This is usually a cleaner and more stable source if supported by your engine and AIM device.
Make sure the kart is powered down before starting work.
Step 2: Secure the RPM Cable Connection
Once you’ve identified the right point:
- Wrap the RPM cable 3-5 turns around the spark plug wire. Keep the loops tight and evenly spaced.
- Use a zip tie to hold the cable in place. Avoid electrical tape unless it’s heat-rated.
- If using a coil connection, plug the cable directly into the coil terminal, ensuring a snug fit.
Be sure not to overtighten or kink the cable. Clean routing is critical to avoid electromagnetic interference and cable wear.
Step 3: Connect to the Data Logger
Next, plug the other end of the AIM RPM Cable into the proper port on your data logger:
- On the MyChron5, this is usually labeled as RPM or “CH1.”
- On EVO4S units, refer to your manual to find the correct RPM input.
Once plugged in, secure any excess cable length with zip ties. Make sure it doesn’t dangle near hot engine parts or moving components.
Step 4: Perform a Test Run
Now that everything’s hooked up:
- Power on your AIM system.
- Start your kart’s engine and let it idle.
- Observe the data logger screen to confirm it’s picking up the RPM signal.
If you’re getting a steady readout, congratulations! Your installation is successful. If not, revisit the cable placement—try adjusting the coil wraps or rechecking the terminal connection.
Common Mistakes to Avoid
- Loose Wrapping: If the inductive coil around the plug wire is too loose, it may not pick up the signal properly.
- Running Near Interference Sources: Avoid routing the cable next to ignition coils, high-voltage wires, or other electronics.
- Improper Logger Connection: Always double-check that you’re connecting to the correct RPM input channel.
- Inadequate Cable Protection: Use heat-resistant materials to protect the cable from engine heat and friction damage.
Tips for Optimal Performance
Want to make the most of your AIM RPM Cable?
- Calibrate Regularly: Use your AIM software to fine-tune signal sensitivity and RPM thresholds.
- Clean Data = Better Decisions: Review logs after each session to spot inconsistencies early.
- Keep It Tidy: A clean, well-routed cable lasts longer and ensures stable signal pickup.
- Pair with Other Sensors: Combine RPM with throttle, lap timing, and temperature data for a full performance picture.
Final Thoughts: Elevate Your Karting Game
Installing your AIM RPM Cable properly might feel like a small detail, but it’s a big step toward precision racing. This isn’t just about watching numbers tick up on a screen—it’s about transforming data into performance. Whether you’re shaving tenths off your lap or tracking engine behavior over a race weekend, a clean RPM signal gives you the clarity you need to make smart, strategic decisions.
If you haven’t yet picked up your cable, check out the AIM RPM Cable options at KartStore USA —your one-stop shop for high-quality karting gear, backed by expert support.


Post Comment